Friday 29 July 2011

Exhibition Report: MVAN Diversity Three

50265_461344250566_5450005_n


I have just discovered an art group in my area called the Maidstone Visual Artists Network. Unfortunately for me, I cannot join as I am not around enough to fully participate. However, I'm on the mailing list and went to see an exhibition of the group's work in Maidstone Library this week.

I didn't realise there was such a diverse range of artists in my local area. From looking at the MVAN website I saw that a lot of different artists were members, but I didn't realise such a range of art would be represented at the exhibition - I guess that's why is was called Diversity Three!

The work on display was just gorgeous, as you can see from the photos below and I was inspired to keep working on my won art and get it out there. I wish I was in the country more often so I could work with the network and be part of their great movement. Next time I am home I will be trying to get to their monthly meetings so I can meet some of these great people in the flesh!

MVAN 1
Treescape 3 by Sue Pritchard

MVAN 2
Rabbitdeer by Sue Blinkho

MVAN 3
I love the stitching on this piece by
Sue Blinkho

MVAN 4
Hybrid 1 by Sue Blinkho


MVAN 5
And Is There Honey Still For Tea? by Veronica Tonge

MVAN 10
Synchronicity by Veronica Tonge

MVAN 6
Reflections 1 by Diane Sergeant

MVAN 7
Broken Sky by Jo Savage

MVAN 8
Blame by Jo Savage

MVAN 9
Koi and Field Poppies by Janet Jackson

You can find out more about MVAN at their website here or on their Facebook page here.

Wednesday 27 July 2011

Stand on Ceremony

ceremony 1


Over this summer I took the opportunity to do some screen printing. I created a few pieces of art out of the resulting prints and this is one of them. Coronation uses text from the British monarchy crowning ceremony, machine and hand embroidery and a little beaded trim :-)

ceremony 2

I screenprinting!

Saturday 23 July 2011

Stitching and Recycling

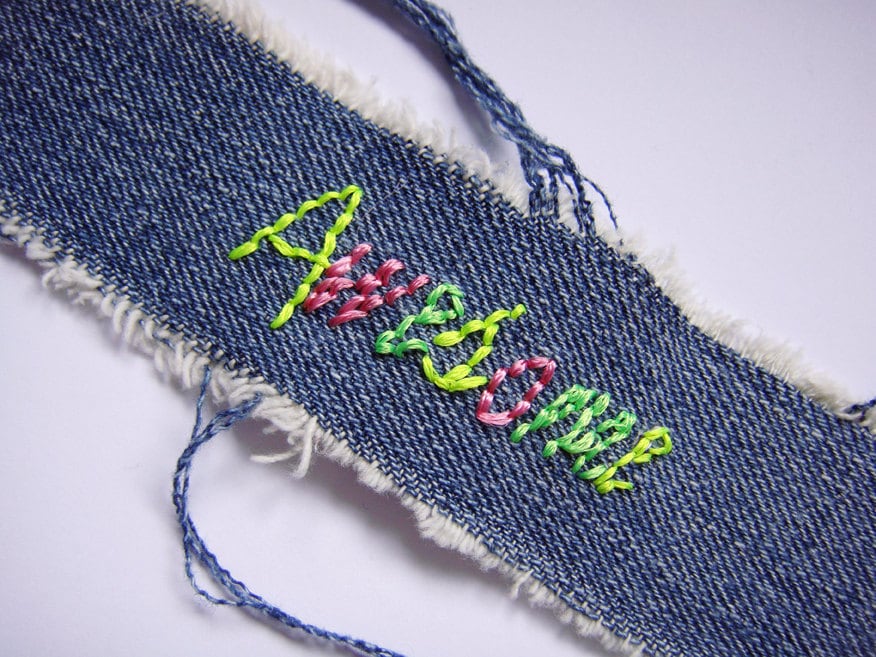
I worked on some new denim cuffs the other day. My best friend tore up an old pair of jeans to make a Hulk costume then donated the jeans to me to make things with. And so began my upcycled denim cuff journey.

New Cuffs


The new series use beads, metal findings and bright colours. I like using text on these so if you think of anything you'd like to see, let me know!

Don't forget my
Christmas in July Sale finishes Sunday 24th July (that's tomorrow!!). Use coupon code july10 to get 10% off your cuff order :-) But hurry!!

Monday 18 July 2011

Christmas in July!

Christmas in July Sale!!!

I'm having a Christmas in July sale in my Etsy shop until 24th July. Use coupon code july10 to get 10% off your entire order. Also, check out the SALE section to find jewellery already 30% off!!

Here's a few for you to look at:


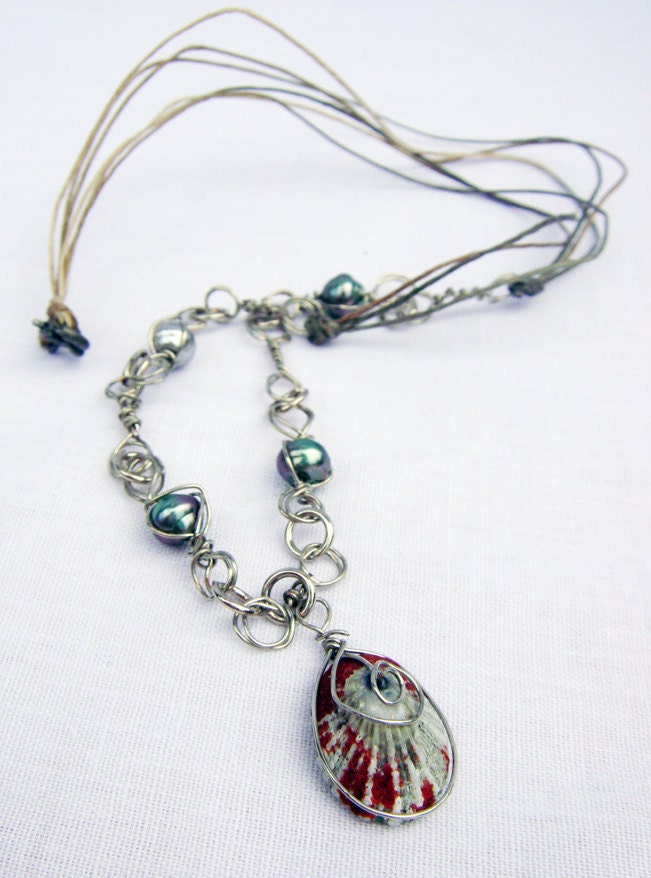
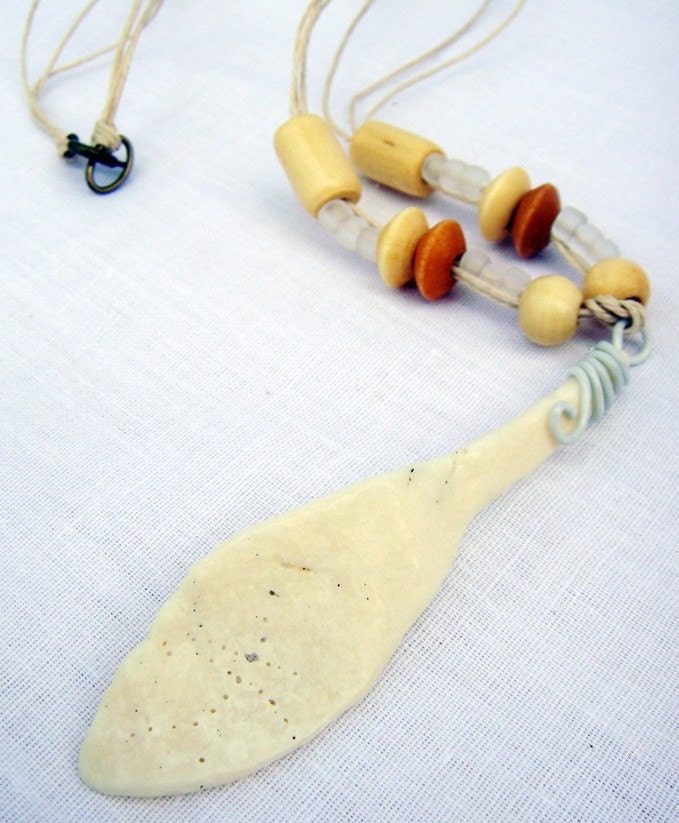
Upcycled Denim Cuff - Awesome Oyster Bay Necklace 30% off!!
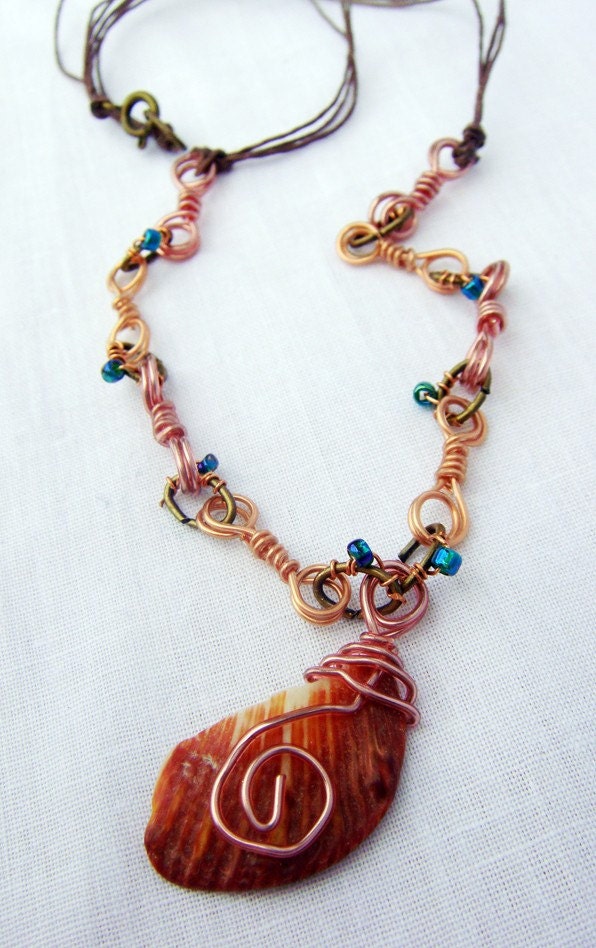
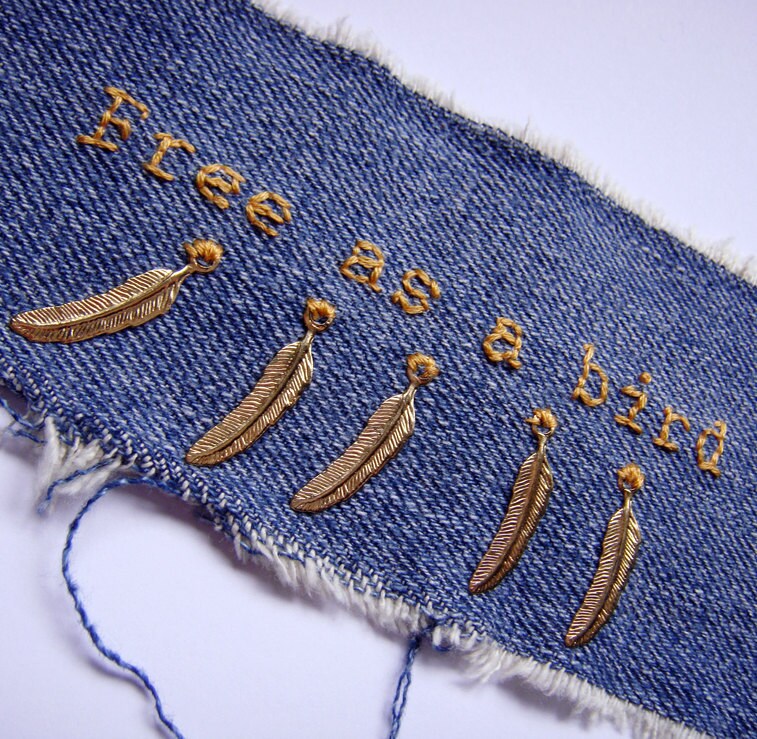
Ocean Sunset Necklace 30% off!! Upcycled denim cuff - Free as a Bird
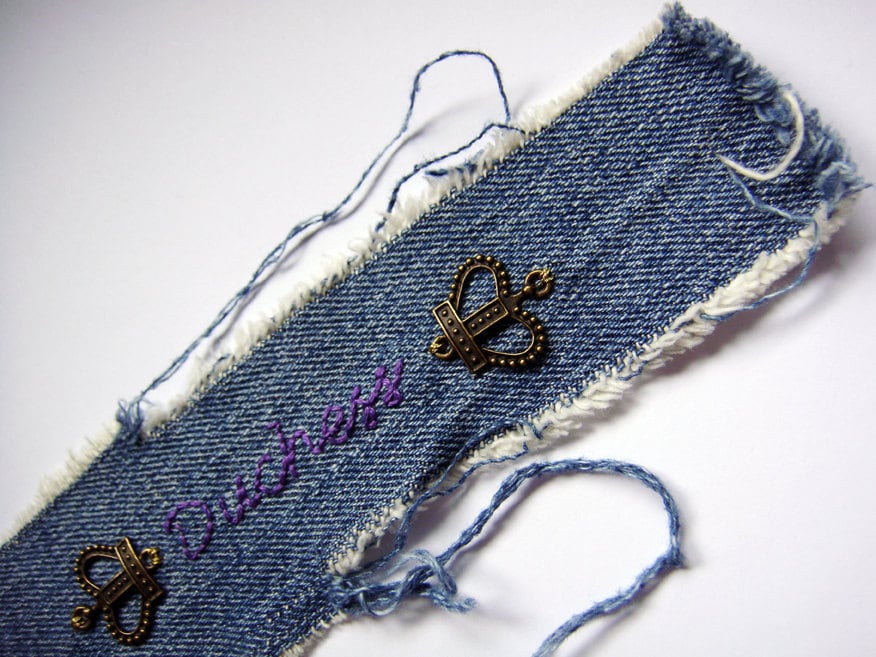
Upcycled Denim Cuff - Duchess Sun Bleached Beauty Necklace 30% off!!


Sunday 17 July 2011

Sewing Machines!!!

sewing machine 1


I was shopping at Bluewater the other day and came across this awesome window display! The clothes store All Saints currently has their windows decorated with loads of vintage Singer sewing machines!! I took a few shot on my phone so they aren't the best, but you can still see how great this display is!!!

sewimg machine 2

sewing machine 3

sewing machine 4

Wednesday 13 July 2011

To Be Free

To Be Free 1


Another piece derived from my experiences at Rosie James' workshop. This piece started out life as an experiment and finished as this fabric collage.

To Be Free 2


The figures come from a photo I took in Hawaii of my dancer friend. They are stitched on sheer fabrics and layered to create the illusion of movement.

To Be Free 3


The photo was taken on a beach so I ran with this idea when choosing my colour pallet and creating the collage. I used textured fabrics in silvers and blues. I free machine stitched a wave shape on silver lame to add to the collage.

To Be Free 4


I finished this piece off with the phrase 'To Be Free' which the figures inspired. I free machine stitched these through the blue and silver net layers.

To Be Free 5


I like the funky colours and textures I used in this piece. I am currently trying to find my signature style and this boldness might be it!

Thursday 7 July 2011

Columbia, 2008

columbia 1

I made this piece while on Rosie James' machine embroidery workshop.

columbia 5
Watched By The Lady (2008)

I started with this photo that I took on my travels in 2008. I then used machine embroidery techniques from the class to reproduce it.

Columbia 2

The Lady was transferred to metallic organza and free machine embroidered with black thread.

Columbia 3

The grate was sewn from the back of the piece with wool in the bobbin of the machine to give the raised effect. The figures were cut out of bondaweb applied to lining fabric and attached over the top.

Columbia 4

The flowers were not part of my original design. I needed to make the piece bigger for the canvas I had and found the floral backing. When I placed the whole piece on top it just happened to fall with the yellow square over the flower. I decided to embroider over the top to incorporate it into my design.

I'm a big fan of these techniques now so expect to see more work like this from me - thanks Rosie!

Saturday 2 July 2011

Fancy Shisha Tutorial!

Tutorial photo 21


I decided to give you guys a tutorial for some mirror work. I originally learned this stitch from
this blog post. I used the instructions on that post as a basis and kinda did it my way. So I thought I’d show you how I do it.

Fancy Shisha Stitch:

Tutorial photo 1

1
I used a large sequin for this but a mirror can be used as well. I glued the sequin down before I began just so it doesn’t move around while I’m trying to work. I used a simple glue stick for this. The stitches will eventually hold it in place. I used stranded cotton but used all six strands. Bring the needle up at the bottom of your sequin.

Tutorial photo 2

2
We are going to create foundation stitches. Take the needle down at the top of the sequin directly above where you brought the needle through.

Tutorial photo 3

3
Make the second foundation stitch horizontally creating an cross over the sequin. Try to make this as even as possible, it will help later.

Tutorial photo 4


4
The final two foundation stitches create an ‘x’ over the top of the other two. Again, try to make these as even as possible.


Tutorial photo 5

5
Now we begin the decorative stitch. I always start at the top. Bring the needle up to the left of the spoke.


Tutorial photo 6

6
Go back down on the right of the spoke making a very small stitch along the edge of the sequin


Tutorial photo 7

7
Bring the needle back up on the left of the spoke and the stitch


Tutorial photo 8

8
Pass the needle under the spoke right to left. Pull thread tight


Tutorial photo 9

9
Take the needle down on the right of the spoke as close as possible to the beginning stitch


Tutorial photo 10

10
Bright the needle back up to the front right next to the last stitch – don’t do it too close as it will undo the original stitch but close enough that there isn’t a gap.


Tutorial photo 11

11
Put the needle under the spoke left to right this time, pull the thread tight.


Tutorial photo 12

12
Take the needle down on the left of the spoke as close as possible to the beginning stitch


Tutorial photo 13

13
Bring the needle back up to the front right next to the last stitch – don’t do it too close as it will undo the original stitch but close enough that there isn’t a gap


Tutorial photo 14

14
Repeat steps 8-13 twice more so you create a filled in V shape around your spoke


Tutorial photo 15

15
If you followed the steps right to the end your thread should be on the left of the spoke and V…


Tutorial photo 16

16
Now wrap the thread around the rest of the spoke by taking your needle under the spoke right to left, wrapping about 4 times until you get to the middle of the foundation stitches.


Tutorial photo 17

17
Once at the middle take the needle under the spoke to the left from right to left.


Tutorial photo 18

18
Wrap the thread down the spoke as before, taking the needle under the spoke right to left until you reach the edge of the sequin. Secure the thread by taking the needle down through the fabric on the right side of the spoke really close to the point the spoke comes up through the fabric.


Tutorial photo 19

19
Now you will make the V shape on this spoke by following steps 5-14. When you finish this V shape you may want to secure your thread and begin a new piece, that’s what I do!


Tutorial photo 21

20
Follow steps 5-19 three more times until you have filled the last 6 spokes – and you’re done! Pretty huh?!

I hope these instructions make sense and are helpful! Leave me a comment with any questions or comments – they are much appreciated